This post may contain affiliate links.
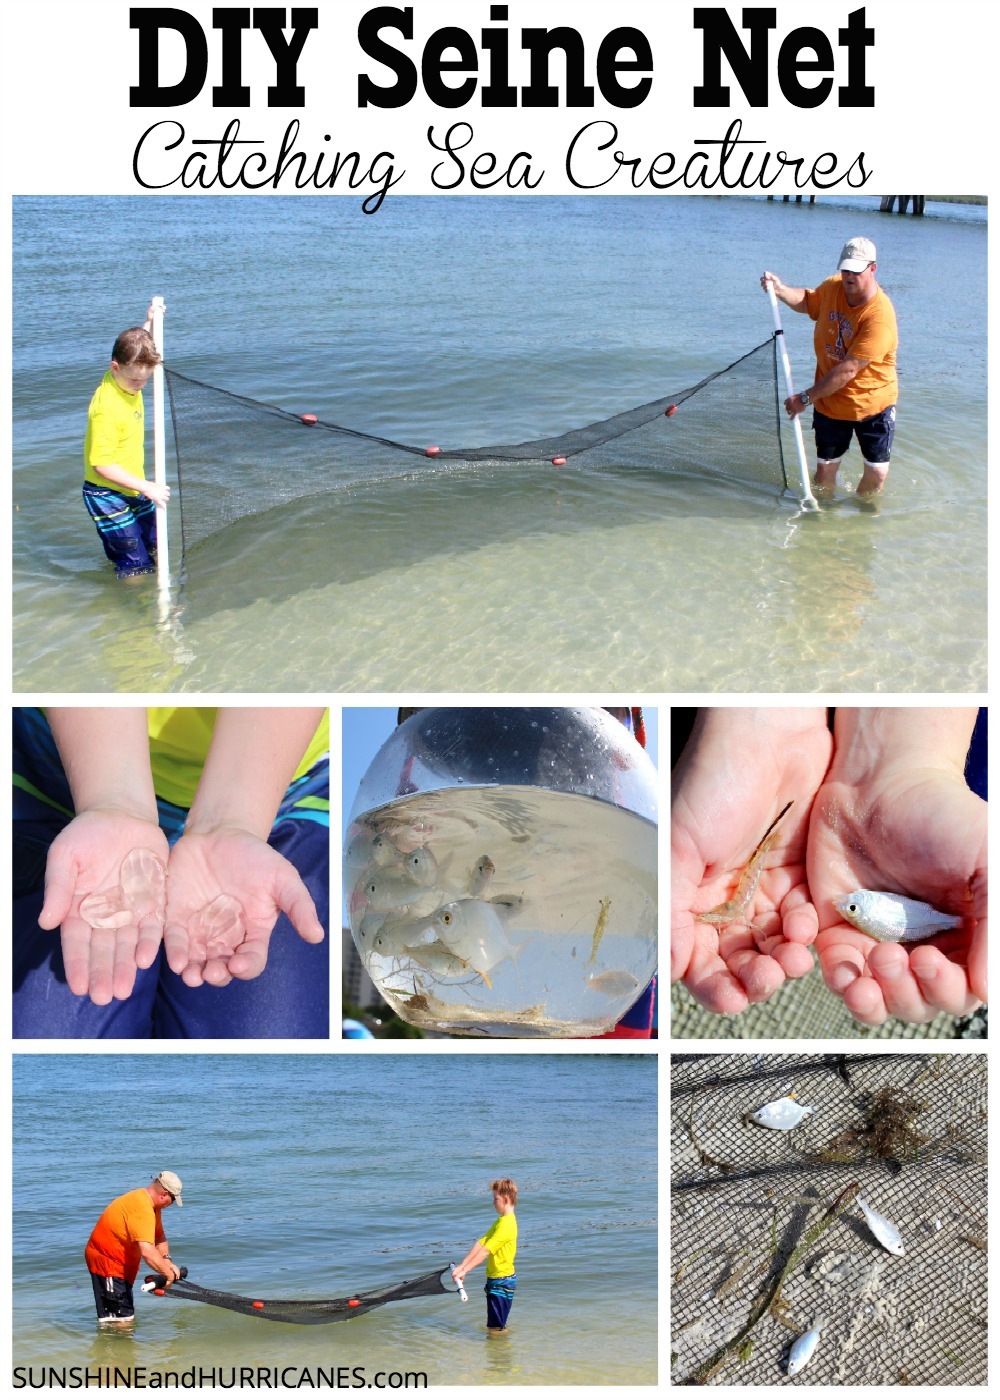
Living in South Florida, we are frequent beach goers and this DIY Seine Net is such a simple way to expand the fun we have! Seine(pronounced like “sane”) nets have been used since the Stone Age to help catch fish and other sea life, it’s basically a net with weights on one side and floaters on another. My son LOVES science and anything to do with animals so this was a perfect gift for him on his last birthday; it makes the sea creature catching a cinch. This seine net is perfect for any type of water, salt or fresh, and can provide hours of entertainment at a lake, river, stream, or ocean.
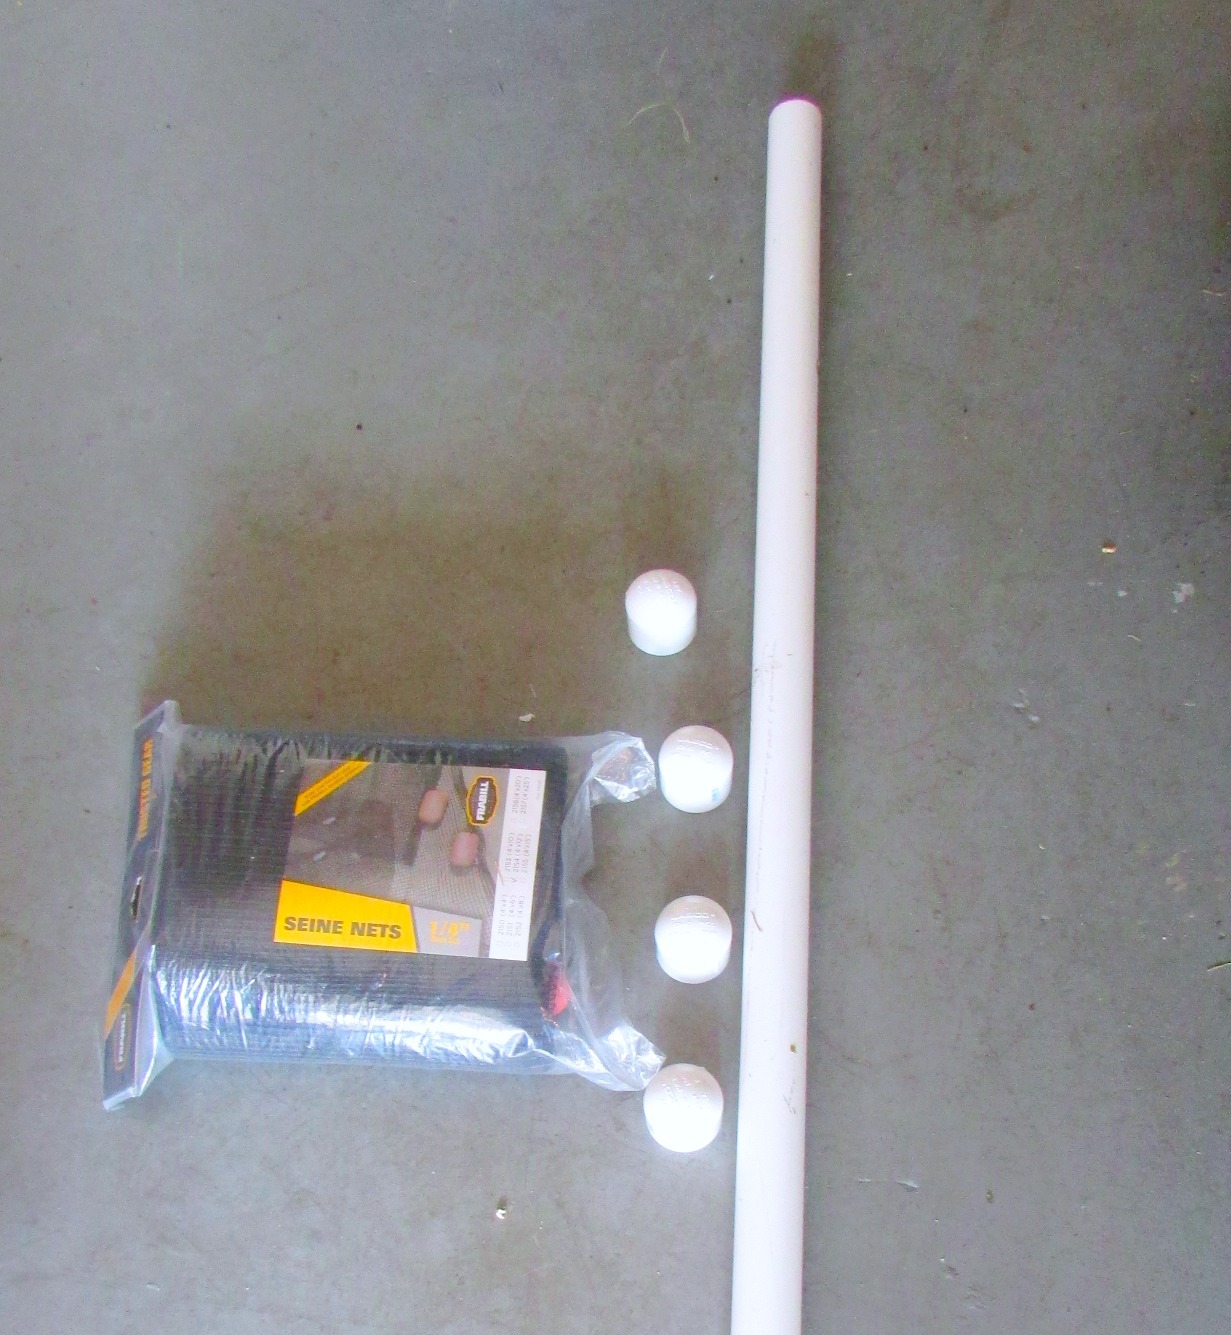
We purchased this net, a 10′ x 1.5″ piece of schedule 120 PVC pipe, 4 1.5″ slip caps, & PVC glue from the home improvement store. We also used a drill, hacksaw or PVC cutter, and lighter if you want to gather everything at once. I like to stop half a dozen times to locate supplies but you’re probably way more organized…
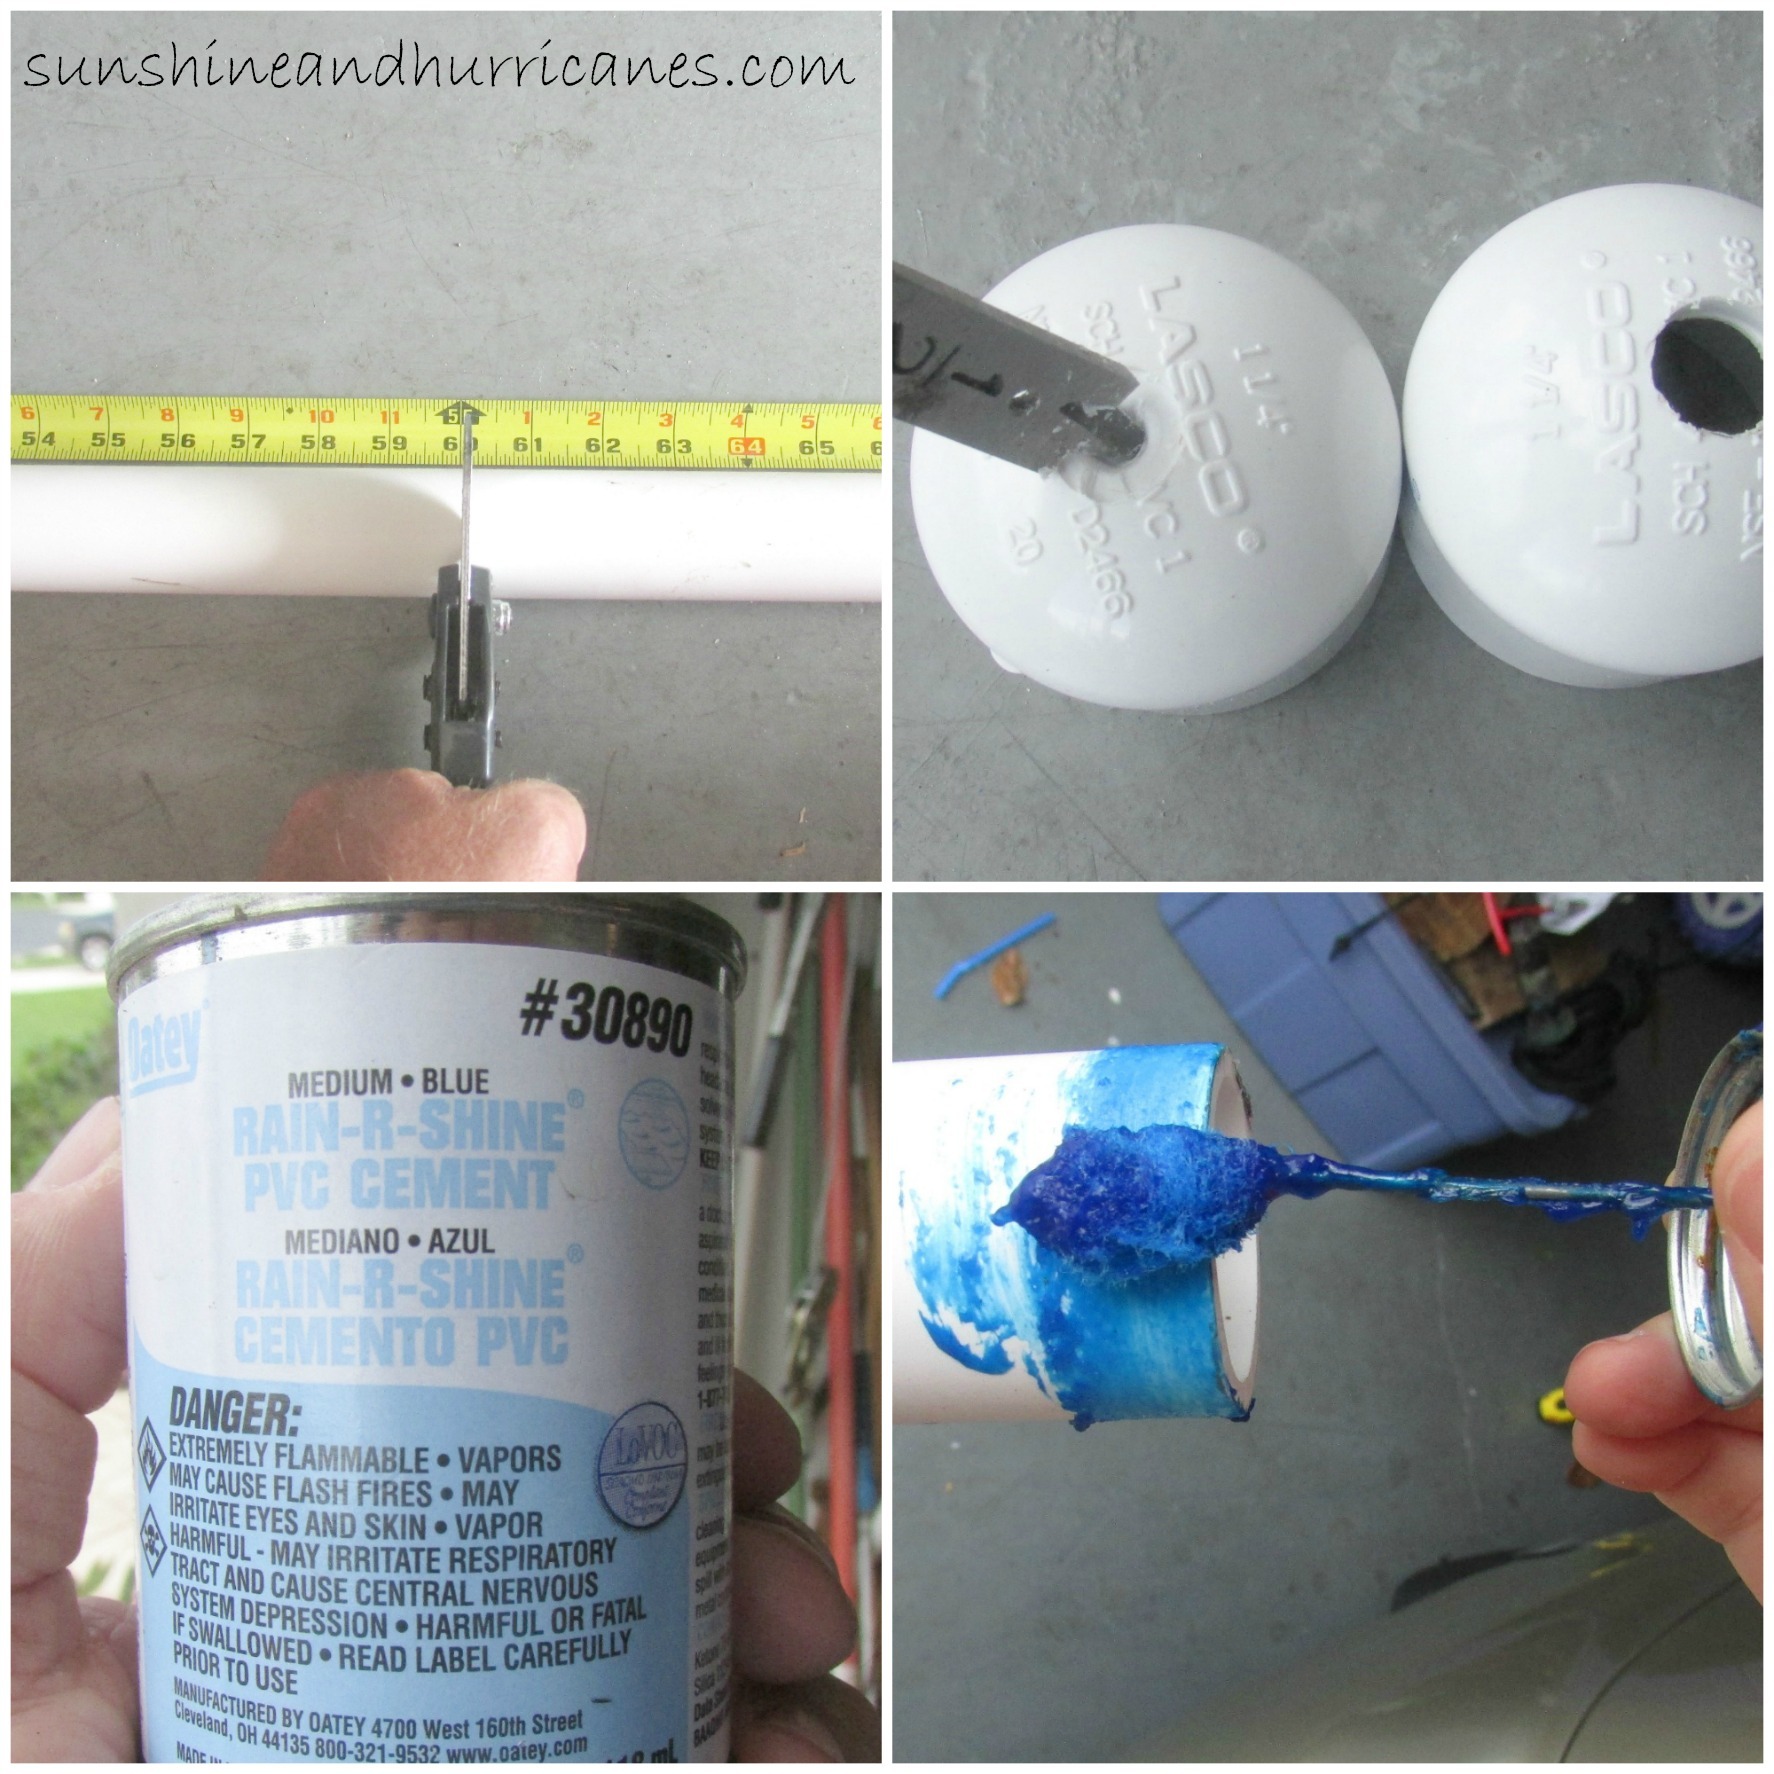
Step 1: Use the hacksaw or PVC cutter to cut the 10″ piece in half, drill 1/2″ holes in top of each cap, use the PVC glue to attach the slip caps to the poles.
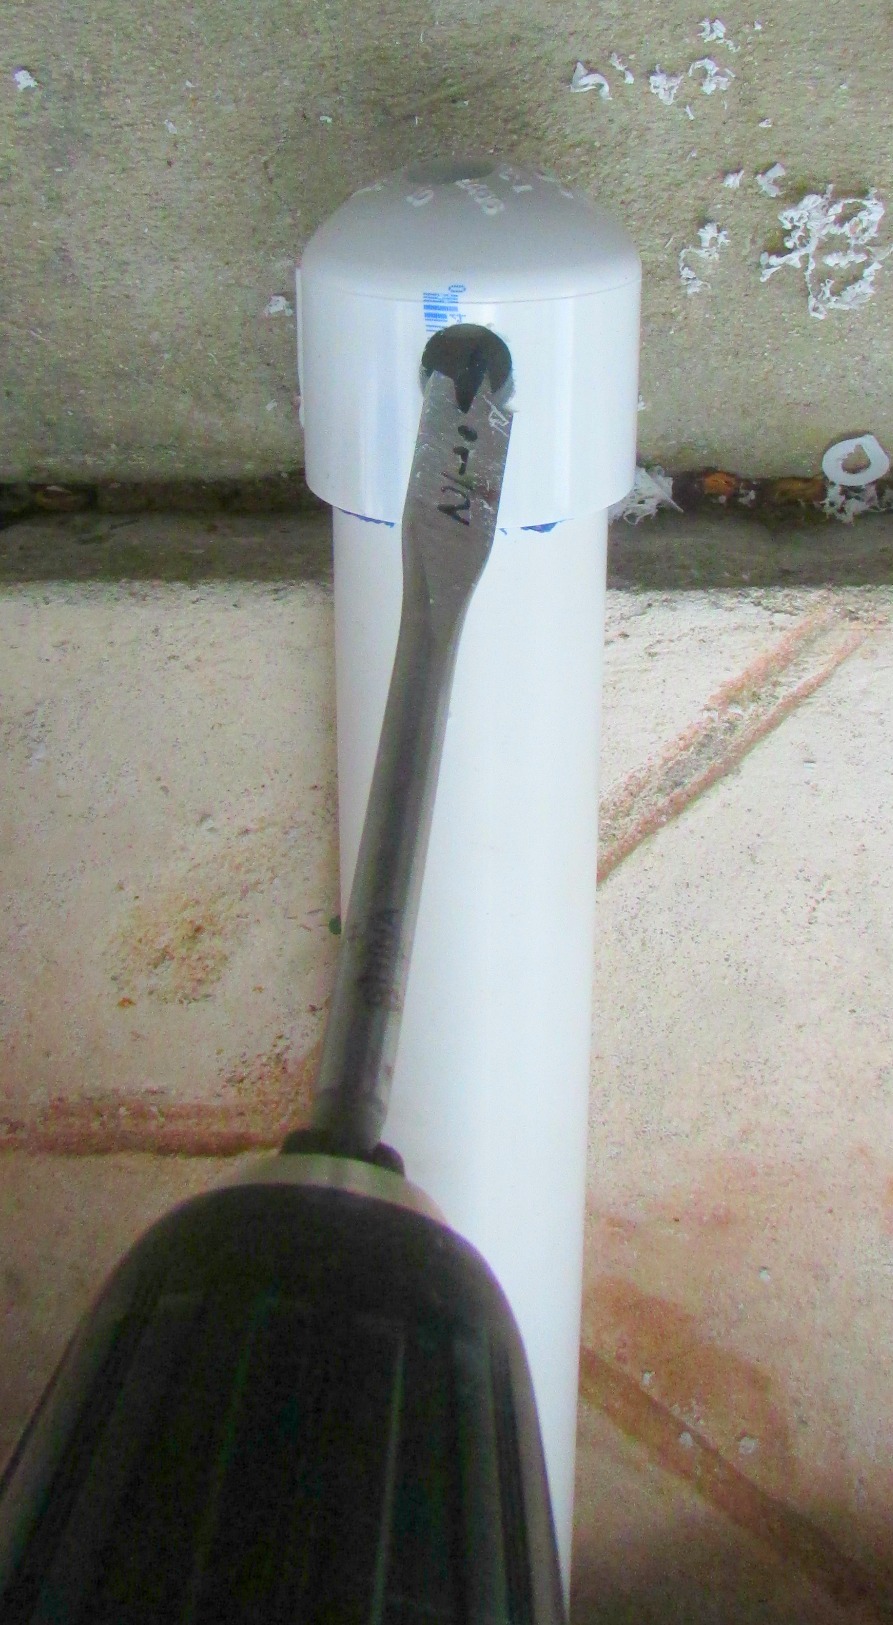
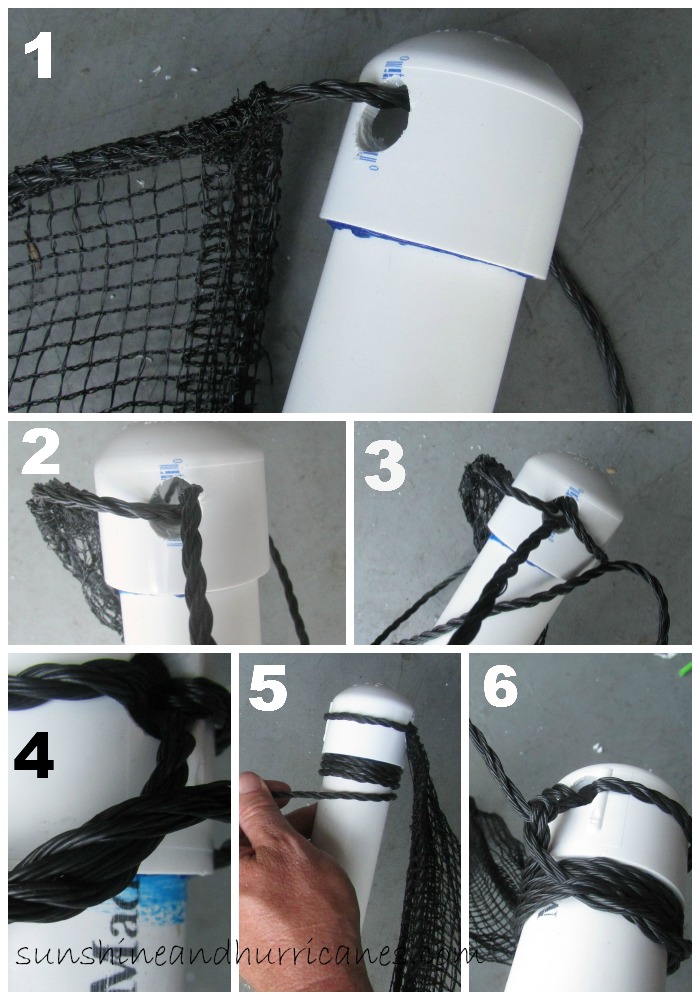
Step 2: Drill 1/2″ holes all the way through on the sides of 2 of the caps. These will be the bottom of the poles. Open the net, shake it out and observe that the bottom is weighted while the top has the Styrofoam mini buoys.
Step 3: Using the rope on the bottom of the net, thread it through the caps, loop around to the right, come back through the hole, loop around to the left, then wrap rope around the pole until the length is almost fully used, then tie an overhand knot on the last 2 wraps around.
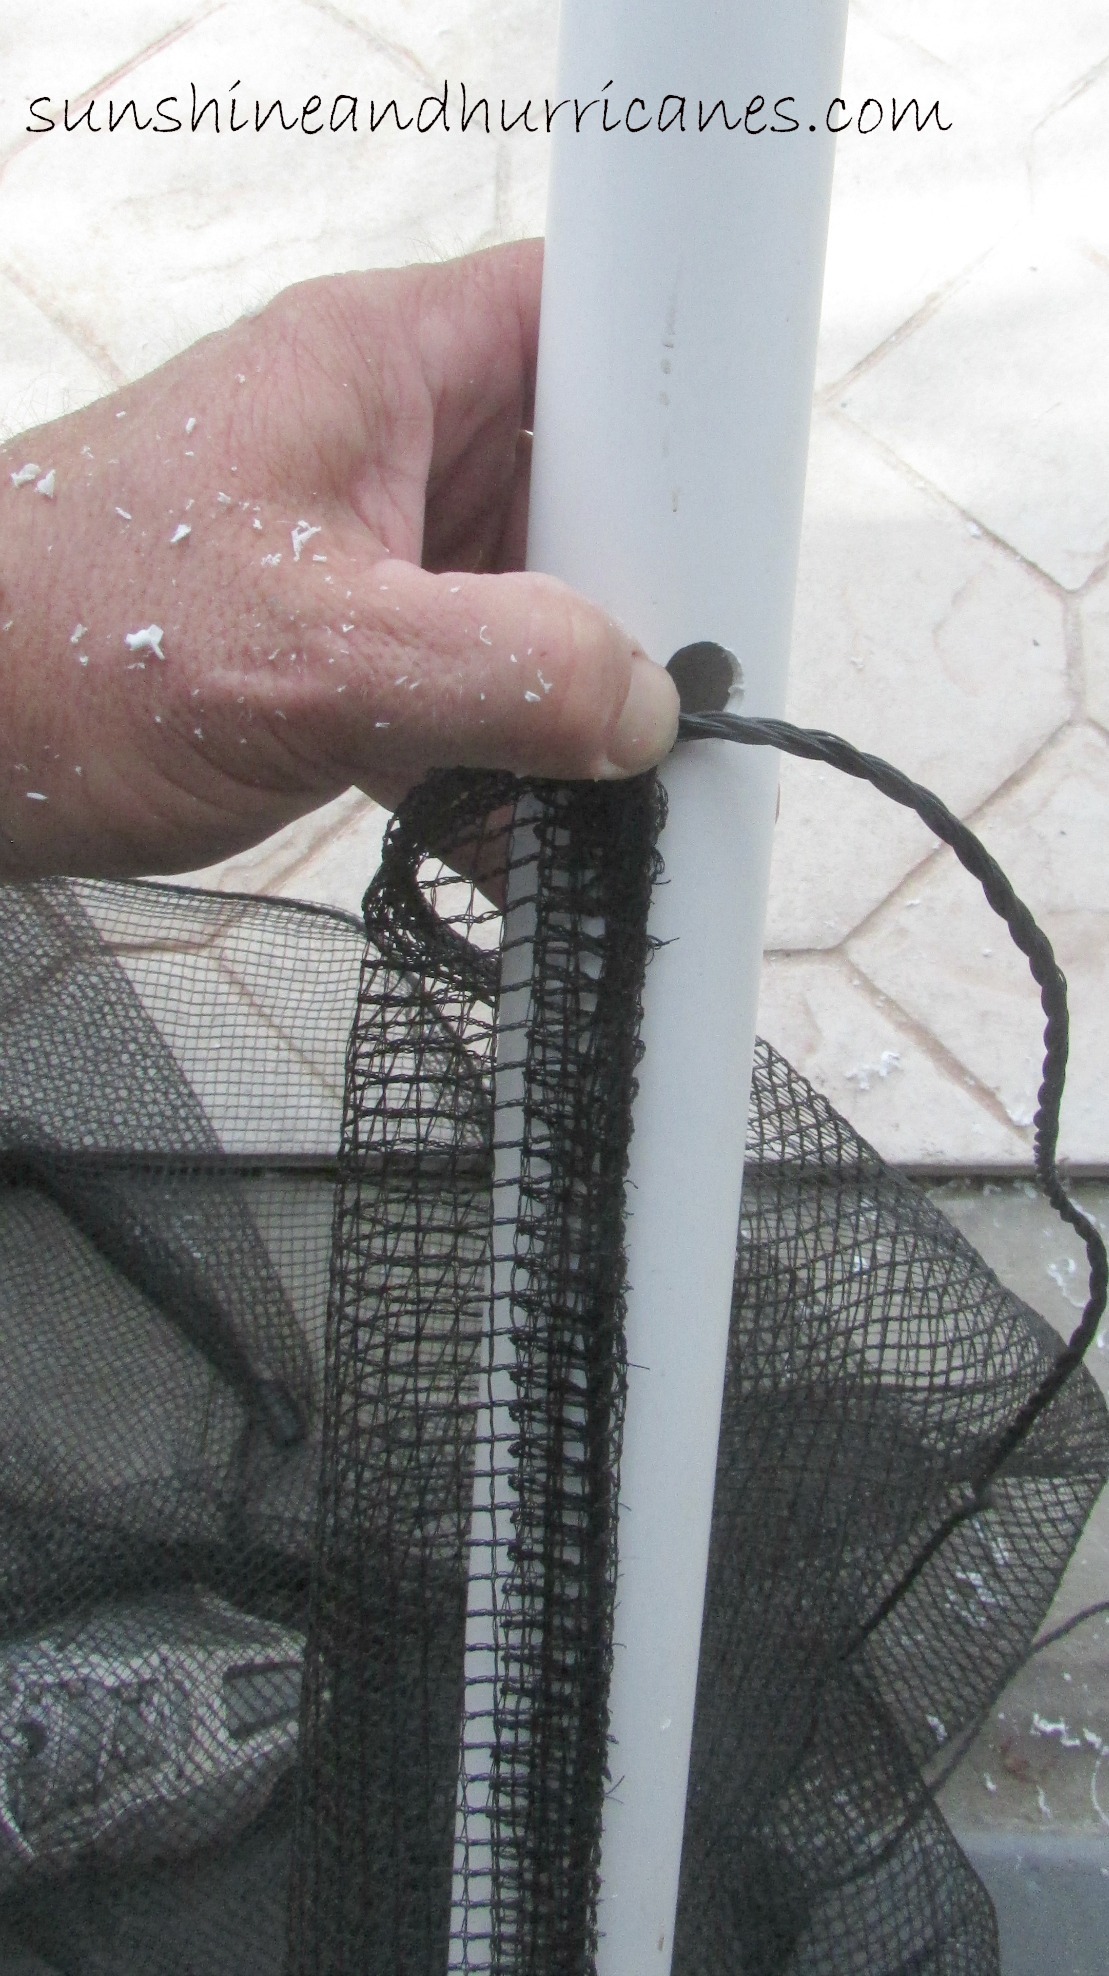
Step 4: Stretch the net towards the top of the pole & mark where a hole can be drilled to attach the top of the net. Run the top rope through the hole, follow the procedure in step 3 for attaching. SIDE BAR: Obviously, my nautical minded hubs was the mastermind behind this project, I was, as usual, the suggestor of this venture after trying the net at a camp program. My take is, attach the net…I claim no understanding of any of the technical knot thingy but my DIY experience tells me that tying some kind of knots will make the rope stay put.
Step 5: Because the net is made of nylon roping, you can easily use heat(the lighter) to seal the ends of the net and the knots to keep them fraying or untying over time. Simply pass the ends of the rope through the flame a couple times and it will slightly melt, completing a seal. Sorry, no picture of this step but I’m sure you get the idea.
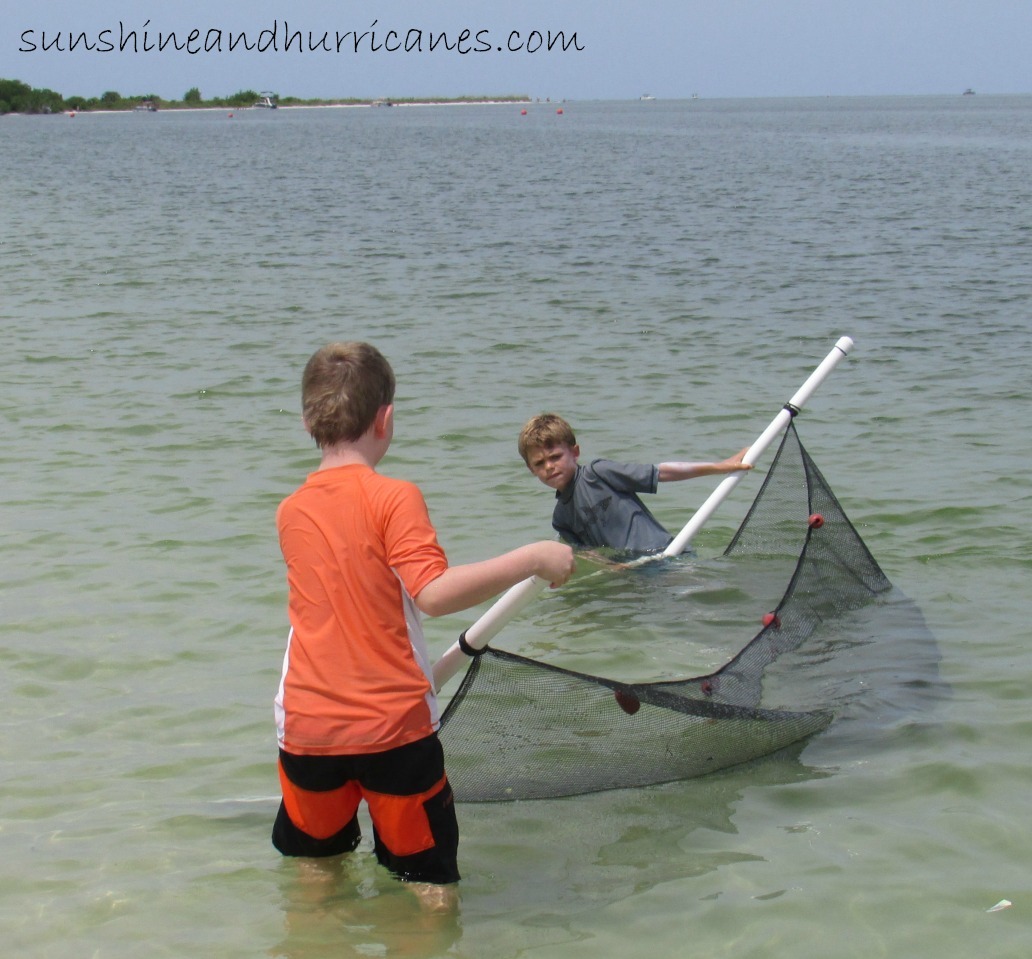
Here it is in action, the best part! For all sorts of tips on HOW to use the Seine Net, be sure to read our post here, don’t miss out on all the fun!
Here are some of our creature finds in the bucket & a friend we made that was quite thrilled to eat some lunch he didn’t have to catch!






Ashley says
That’s a pretty awesome net! Featured you this week on Mom’s Library!
Michelle Myers says
Thank you! IT has certainly led to lots of fun and learning for us!
Nichole says
I will have to pin this project for my kids! They love to catch creatures and this is brilliant. Thank you!!!!!
Michelle Myers says
They’ll definitely catch the FUN with this!!!!
krystalskitsch says
This is SO cool! I need to make one once my kiddo gets a bit older, but we love exploring the shore!