This post may contain affiliate links.
Red ,White and Blue Fun and Easy Fruit Popsicles
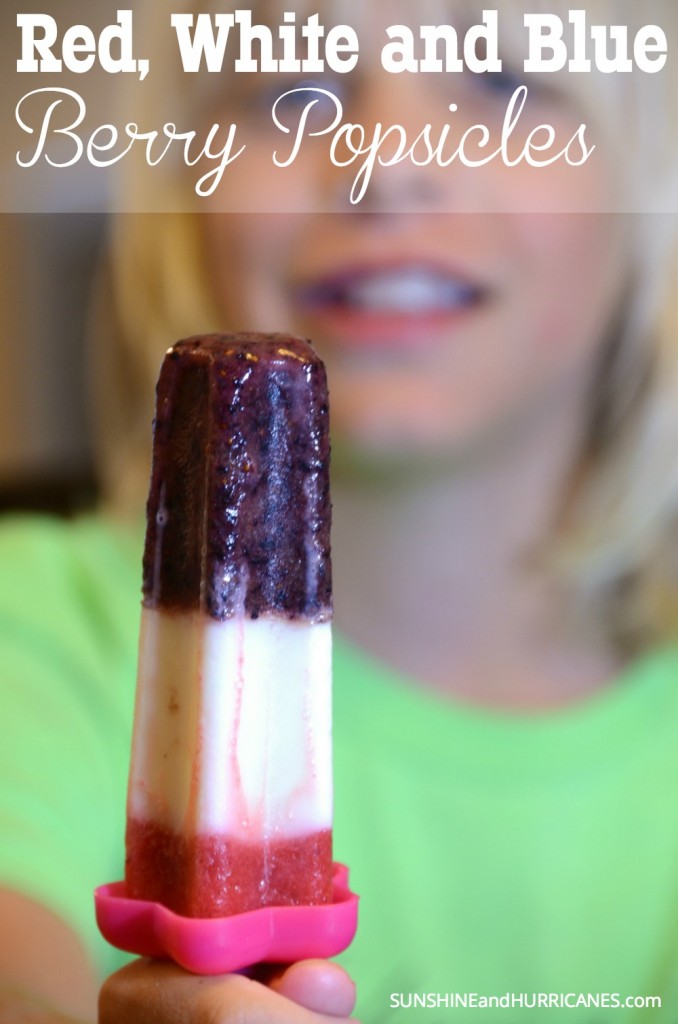
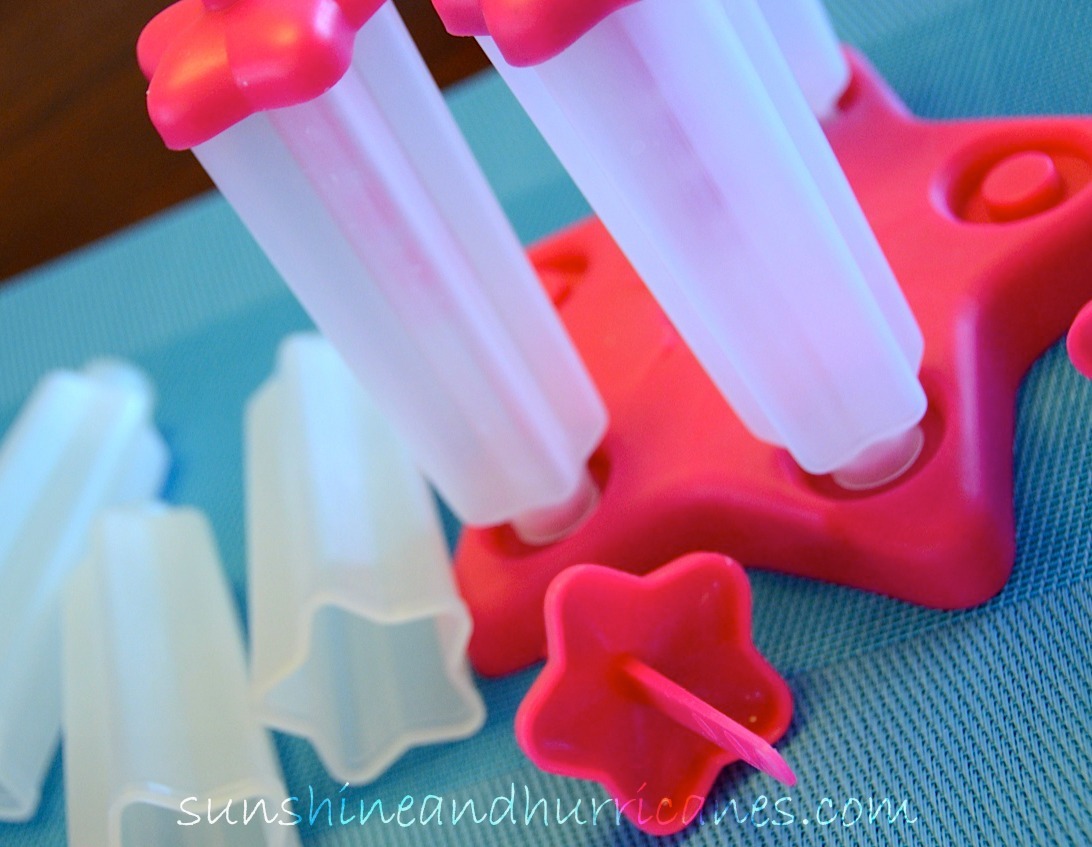
Wow! The temperatures sure are climbing here in Florida. Summer has truly arrived and we are looking for any way we can to cool down. As the 4th of July holiday approaches, I was looking for something festive and fun to do with my little ones and we decided on these patriotic themed popsicles. First, we pulled out these Star Popsicle Molds that I happened to score on a discount last year, and that we knew would be just perfect. They are a favorite in our household!
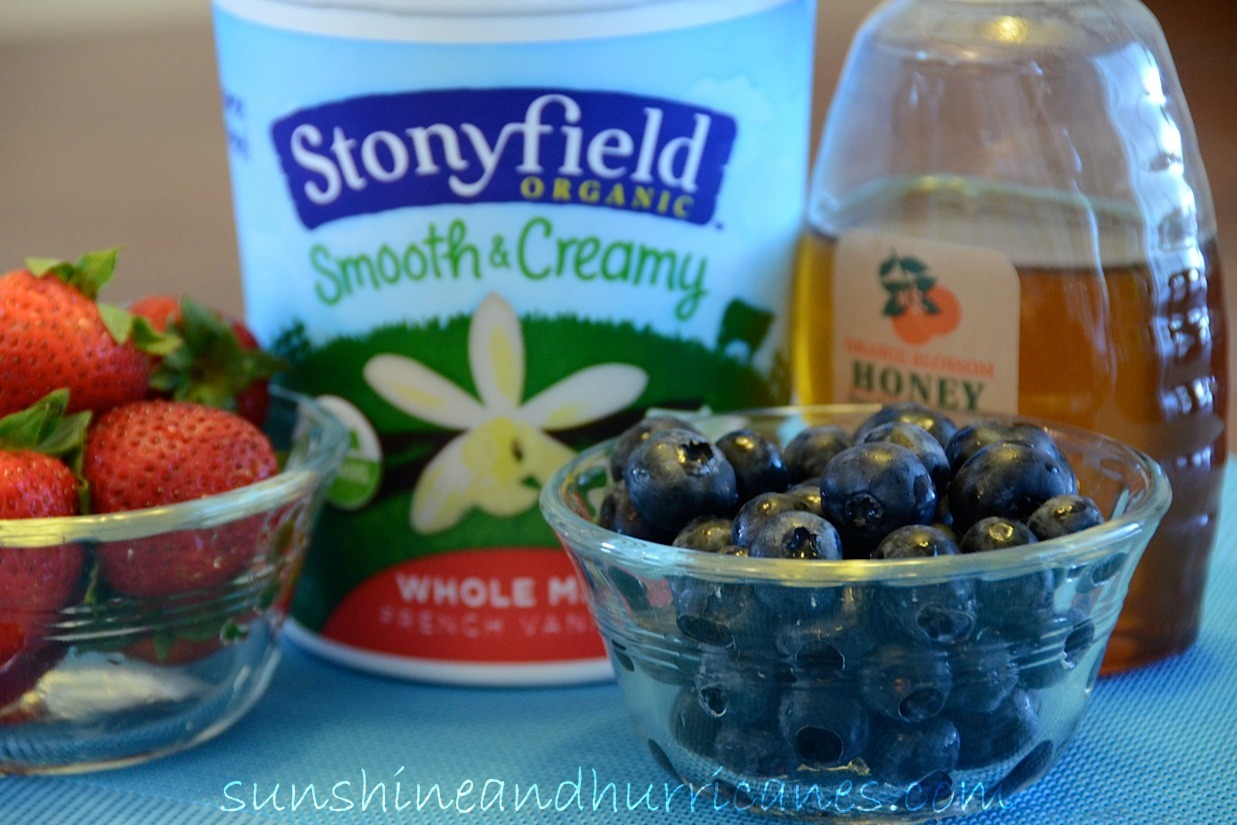
Next, we decided on some patriotic colored berries with our “blue” blueberries and “red” strawberries.The white would be added using some yummy vanilla yogurt and then we would use just a touch of honey when we blended up the berries to give them a hint of sweet as well.
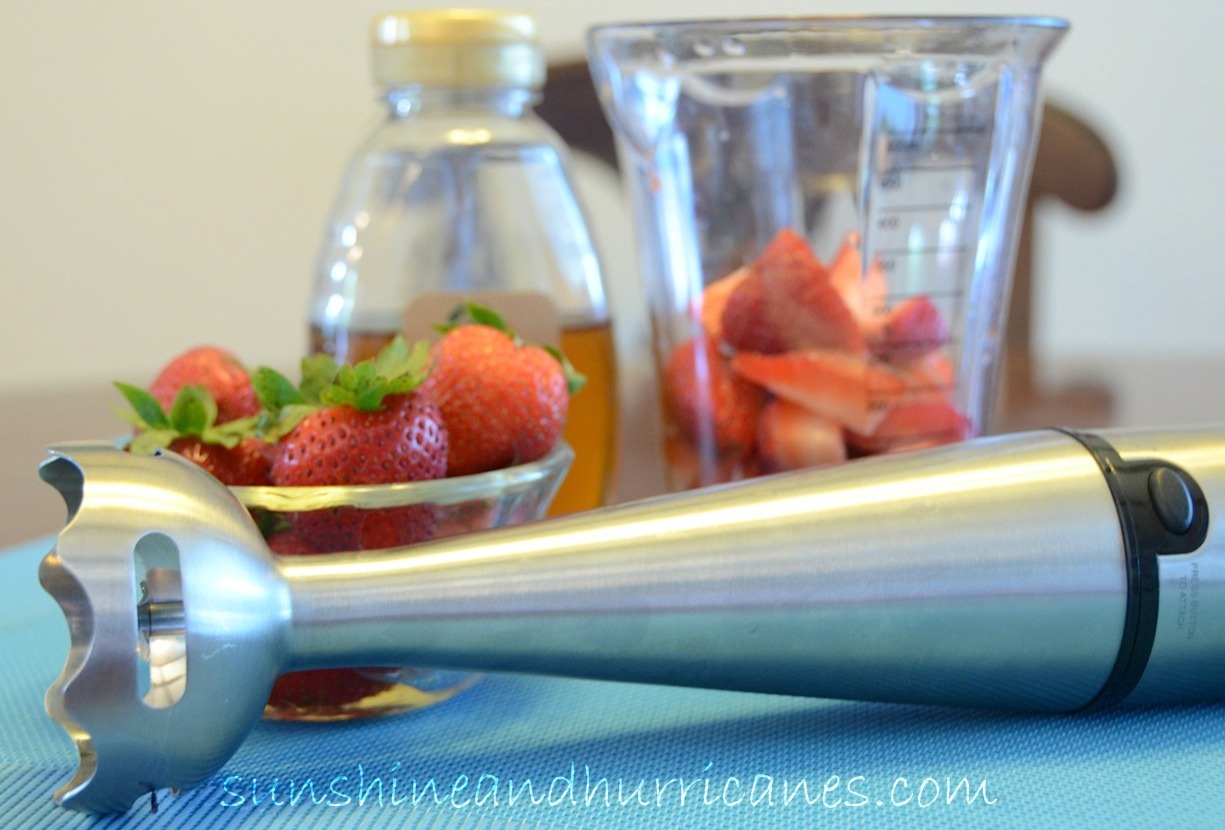
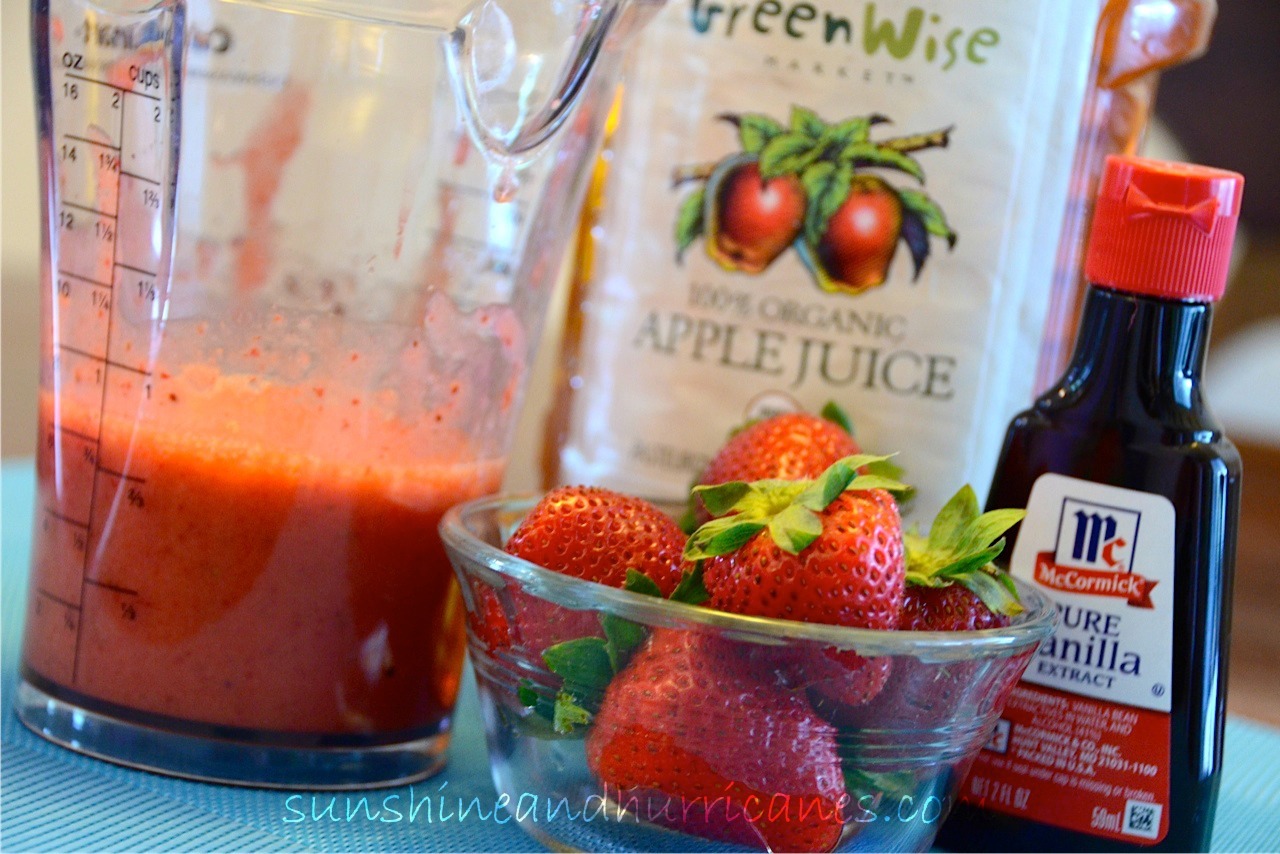
Alright, so the real trick to perfect popsicles (in my humble opinion) is to use a handy little Hand Blender. I think this is one of my top ten most loved and most used kitchen gadgets. It makes quick, and easy to clean up fruit mush (yes, that is my technical name for it). Mine came with this little plastic blending cup, but you can use it in a large handled glass measuring cup as well. Both have a perfect pour spot for transferring the mush to the molds.
To make the fruit mush, mix together 1 cup of berries with about 1tsp of honey. You can also use about 1/4 to 1/2 tsp of vanilla. Sometimes, I also add a splash of apple juice just to help the ingredients liquefy better. You can start with either the strawberries or blueberries, just depends in what order you want them. We started with blueberries and then strawberries.
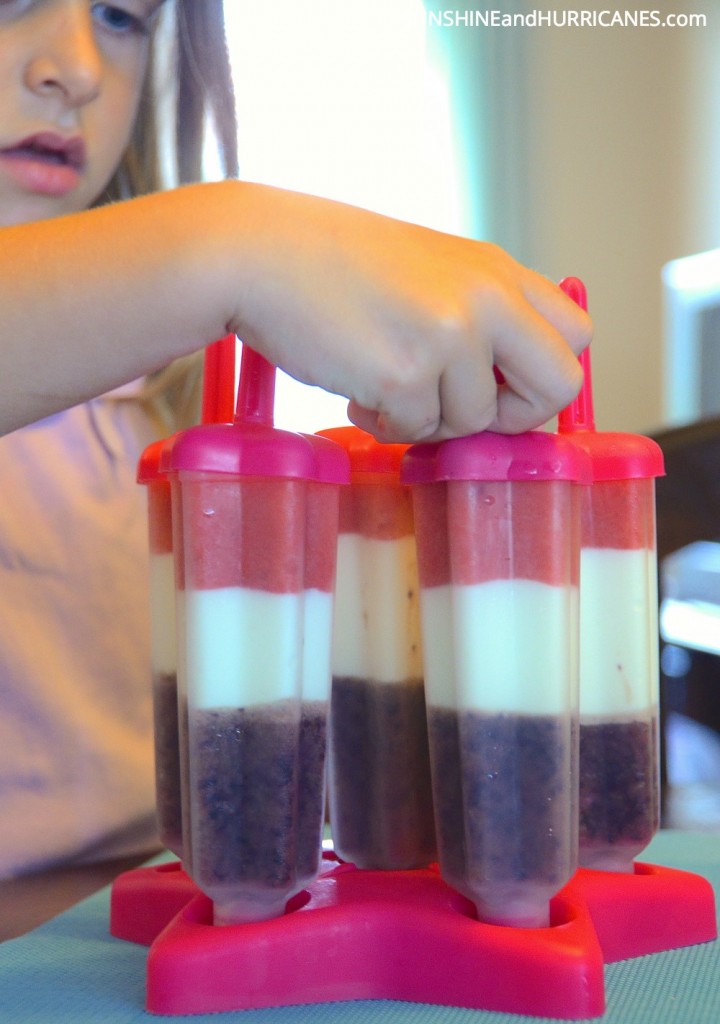
Once we blended up our first batch of berries,we poured the mixture slowly into the popsicle molds so it filled up about 1/3 of the way. We placed the molds in the freezer for a few minutes while we got the yogurt ready. This gives the berry mush time to set and keep it from mixing together with the yogurt layer so we get that pretty, separated red, white and blue look we are looking for.
While waiting for the blueberry mush to set, we rinsed out the little blender cup and then put 1 1/2 cups yogurt into it and mixed it up pretty well for about 15 seconds. It just makes it easier to pour. We got out the molds and filled up the next 1/3 with the yogurt. Again, we popped the molds back into the freezer for a bit, while we made the strawberry mush. Finally, we poured the strawberry mush in the remaining portion of the mold and fit the holders securely on top.
We put our popsicles in the freezer for a few hours while we ran some errands and by the time we got home they were ready to go.
Recipe:
1 cup blueberries
1 cup halved strawberries
1 1/2 cups vanilla yogurt
2-3 tsp honey
1/2 – 1 tsp vanilla
A splash or two of apple juice (this is optional and you could even use water if needed)
Directions:
1. Blend together 1 cups blueberries with 1 tsp honey, 1/4 -1/2 tsp vanilla either in a blender or using a hand blender (add a splash of apple juice or water if needed to help the berry mixture liquefy). Pour the berry mash into the popsicle molds to fill about 1/3 of the mold. Place the molds in the freezer for about 10 -15 minutes.
2. While the first berry mixture is in the freeze, put 1 and 1/2 cups of vanilla yogurt into a small bowl or a measuring cup with a pour spout is even better. Whisk it or just mix with a spatula for about 15 seconds until it is less thick. Remove the molds from the freezer and pour the yogurt over the blueberry mixture to fill the molds another 1/3 full. Place back in the freezer.
3. Follow the instructions in step one, except this time use 1 cups of halved strawberries. Take the molds back out of the freezer and fill up until almost fill with the strawberry mash. Place the tops of the molds securely in place and put back in the freezer. Popsicles usually take 2-3 hours to firm up. If you have difficulty removing them from the molds, run the molds under warm water for a minute or so and the popsicles should come out more easily. Enjoy!




Leave a Comment