This post may contain affiliate links.
Fall is here and I have a great project that will carry you all the way through until it’s time to break out the Christmas tree! I’m not much of a Halloween fan but I do love the idea of Fall and things get so hectic that I have a hard time completely switching out decor between October 31 and Thanksgiving. So, this is how my reversible pumpkin decor was born!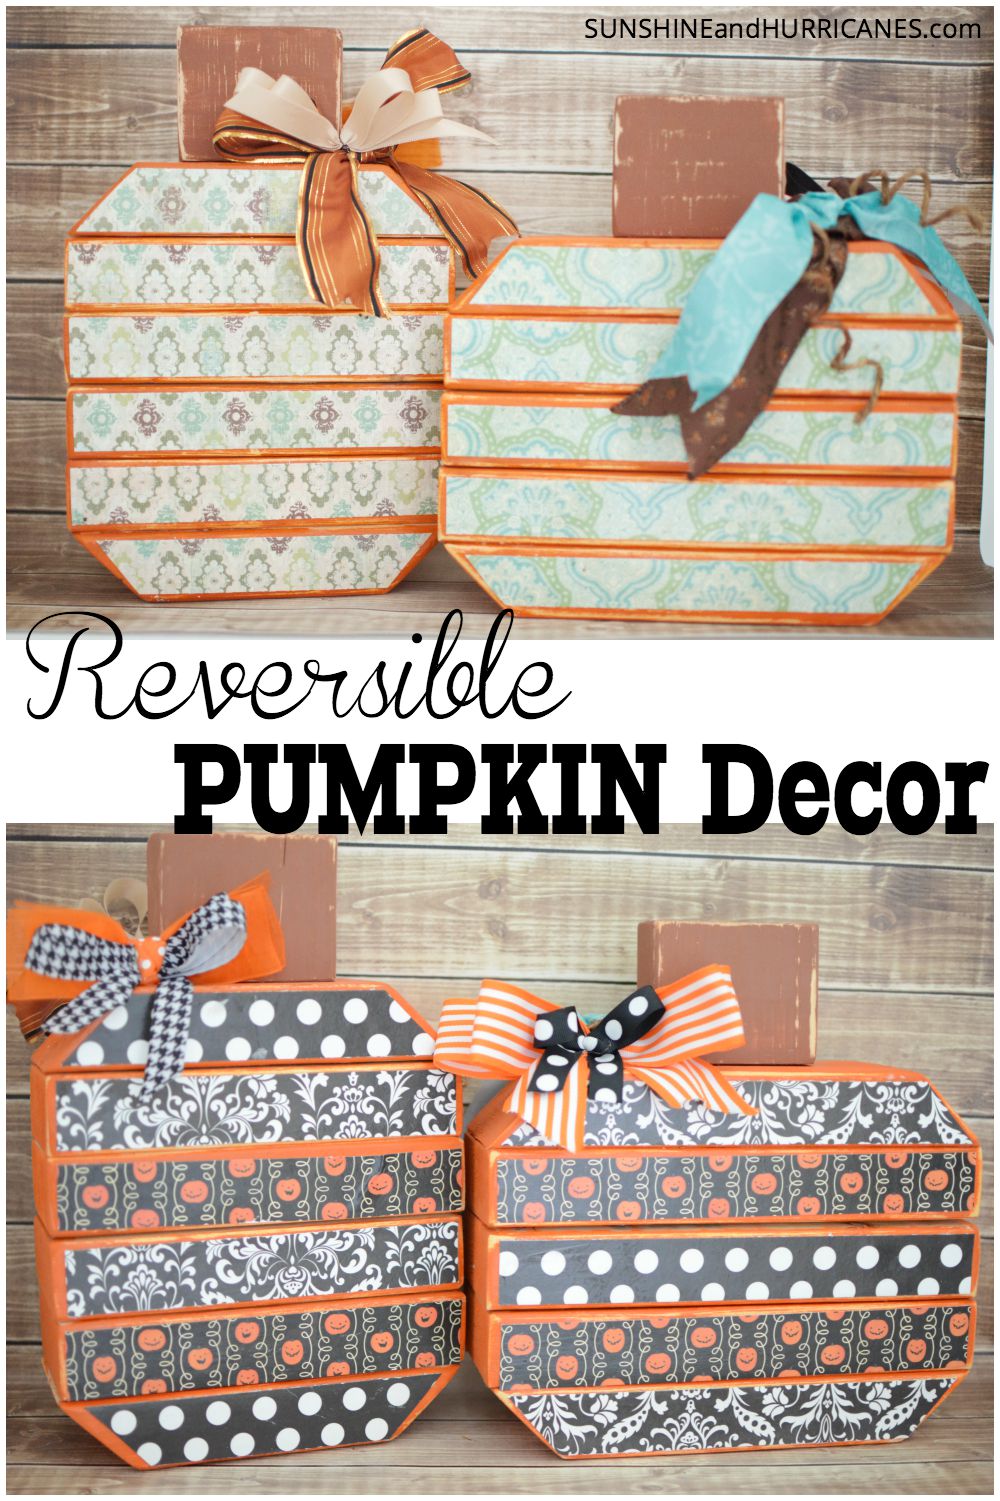
Reversible Pumpkin Decor How To
Head to the home improvement store for wood. I made 2 different sizes of pumpkins:
– the taller one had 6 pieces, the bottoms measured 5″, the middle pieces 8″ in length
– the shorter one had 5 pieces, each approximately 10″ in length., except for the top & bottoms which were 7″.
I cut the top and bottom pieces at 45 degree angles but you can leave the wood straight if you’d prefer. I used a 3″x 2.75″ piece for the stem on my reversible pumpkin decor.
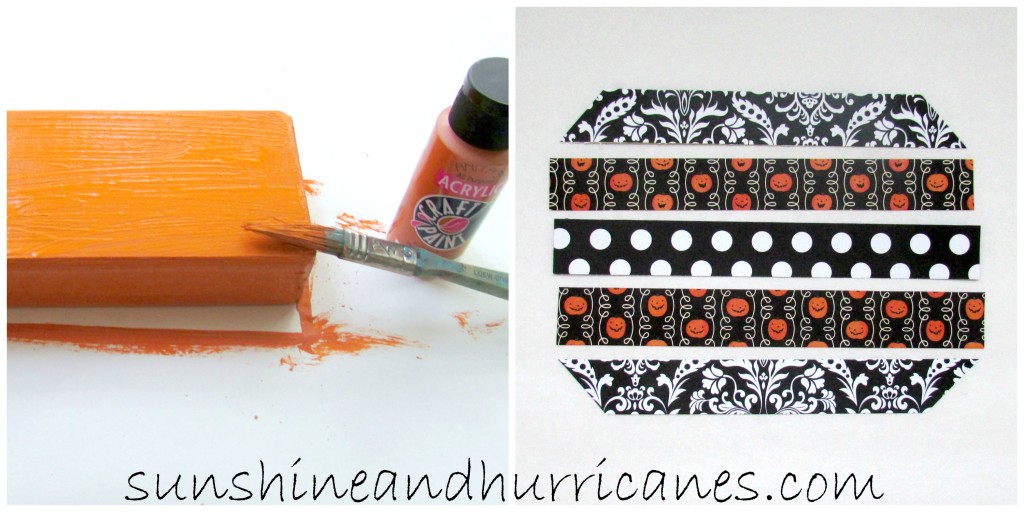
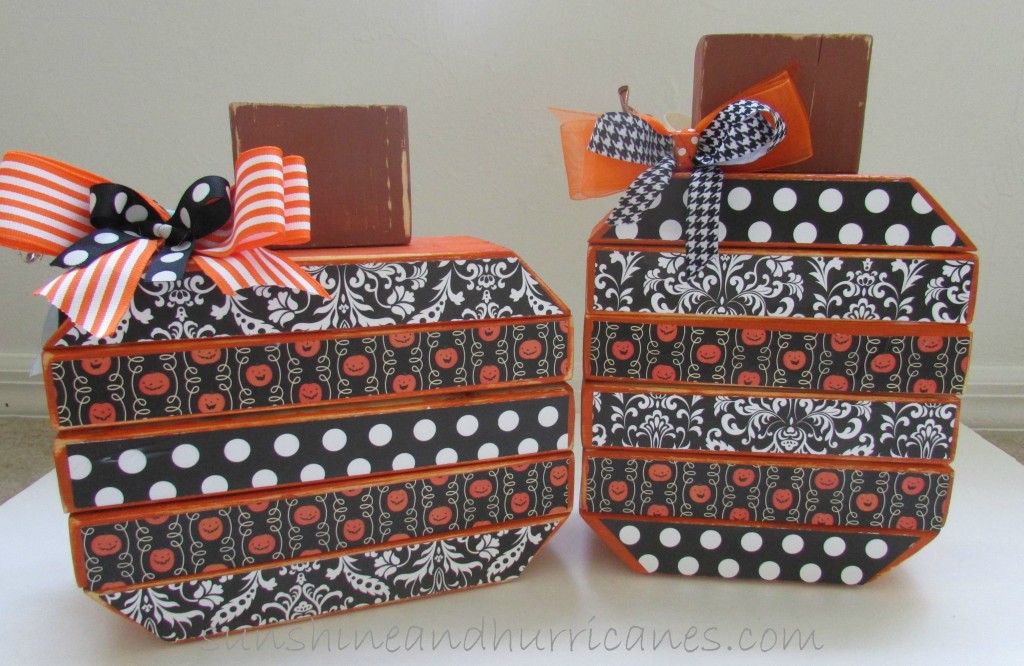
After smoothing out the cut edges with sandpaper, I applied acrylic paint to all sides of the pumpkin and stem pieces. While that was drying, I gathered up some Halloween Scrapbook Paper
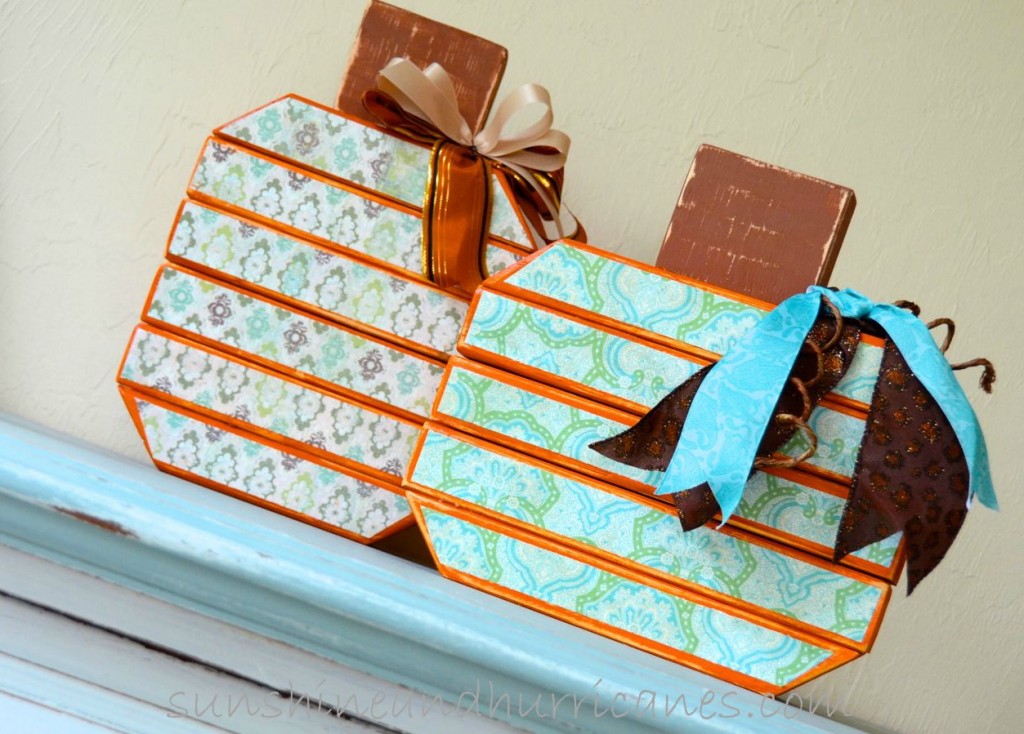
and some that was more Fall.
Okay, maybe not traditional Fall paper, in my case, because I can’t resist throwing a little aqua blue in to better flow with my decor. When the paint is dry, apply the strips of paper to your reversible pumpkin decor. If you are using a basic 2×4, strips that measure 1.5″ in width will work well, determine the length by fitting to the wood, do any necessary trimming and then use Mod Podge to apply the paper to the wood.
Let one side of your reversible pumpkin decor with the paper completely dry, then flip over and repeat with the opposite side. I used ribbon to make a simple bow for each pumpkin on each side, for a total of 4 bows.
I used a glue dot, like the scrapbooking kind, to attach the bow so it would be easy to remove when we turned the pumpkins around. I easily swapped out the bows and voila, a whole new piece of Fall fun!
So, seriously, how cute are these and SO easy?! People compliment me on them all the time and ask me if I can make them some (uh, no!). A fun craft that will leave you with reversible pumpkin decor that works from September right until Christmas.
Looking for more fun Fall ideas?
Follow Sunshine and Hurricanes ‘s board Fall Festivities! on Pinterest.




Debi @ Adorned From Above says
Very cute idea. Thanks so much for sharing at Adorned From Above’s Link Party.
Debi
Tara @ Anything & Everything says
How adorable are these?! Love them! Thank you for sharing with us at Pin Worthy Wednesday! I have also pinned these to our Pin Worthy Pinterest Board! Hope you will stop by again this week 🙂
angie says
these are so cute and festive what a great way to decorate
come see me at http://shopannies.blogspot.com
Erin @ The Speckled Palate says
Oh, what a fun fall-centric project! It certainly doesn’t feel like the season is changing here in Dallas just yet, but I love the idea of decorating for the season… and these little pumpkins are precious!
Thanks for sharing!
Kira Lewis says
Believe me, we understand. We live in Florida, it’s still like 100 degrees here.
Heather @ Divas Run for Bling says
These are super cute! I just love the idea of using decor for both halloween and fall/thanksgiving 🙂
Lindsey @ Redhead Baby Mama says
I love that you can do Halloween on one side, but keep fall and Thanksgiving on the other. This saves me so much decorating stress!!
Michelle Myers says
Thanks, Rebecca, I’m all about double the bang for your buck! 🙂
Jenna @ A Savory Feast says
This is such a cute idea! And so easy to make, too. I like the lighter paper the best.